Some Go Direct® Radiation Monitor (GDX-RAD) units (shipped in 2022 and 2023) contain a manufacturing error that limits the maximum count rate when monitoring active (>500 counts per minute) radiation sources. Lower count rates do not appear to be affected.
This flaw also makes the activity LED (labeled α β γ) flash dimmer than normal, and the beep function, when enabled, is faint.
What units are affected?
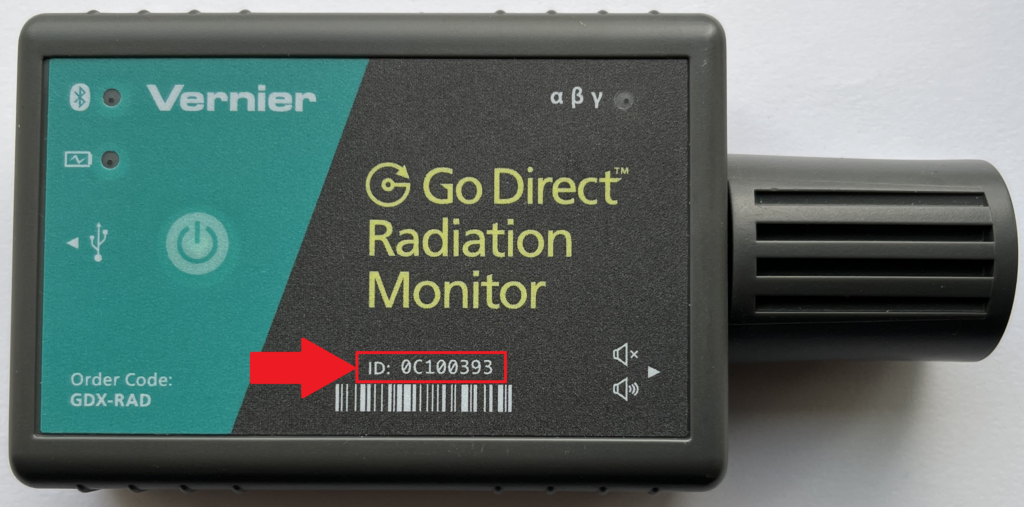
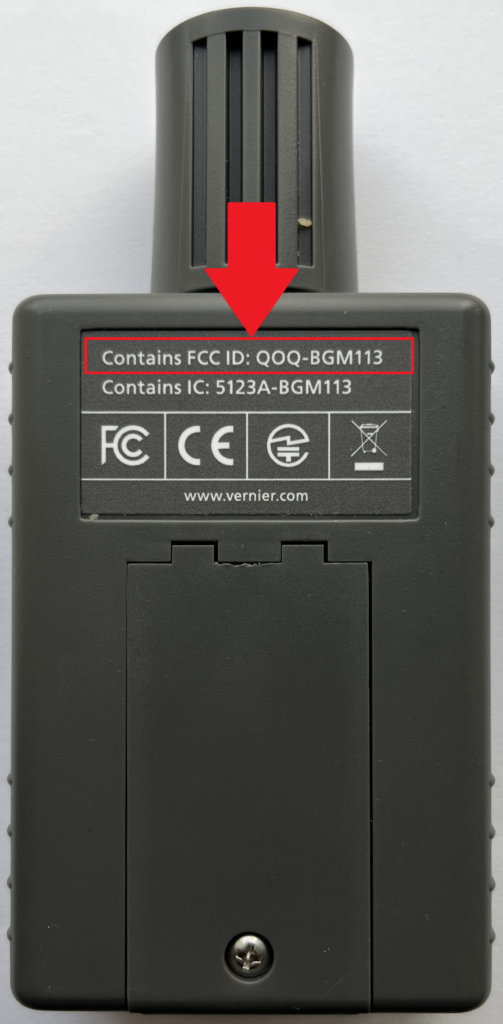
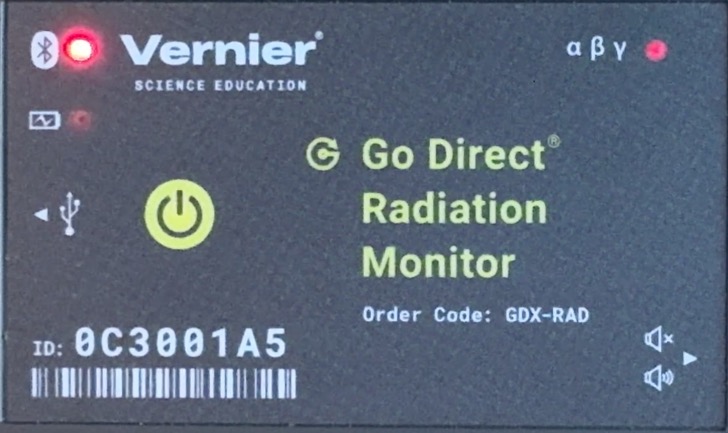
You can identify affected units using the serial number and FCC ID number shown on the sensor labels as noted below.
Affected Units
- Serial number starting with “0C1xxxxx” ALSO HAVING
FCC ID QOQBGM12LMA (shipped mostly in 2022) - Serial number starting with “0C3xxxxx” WITH ID NUMBERS
0C300001 through 0C3002Y1* (shipped in 2023)
Unaffected Units
- Units shipped prior to 2022 (Serial number starting with 0C1xxxxx having FCC ID other than QOQBGM12LMA)
- Units shipped starting January 2024* (Serial number starting with 0C3xxxxx having ID numbers higher than 0C3002Y1)
* Serial number ranges and shipping dates are approximate. Other units may be affected.
Testing for the Defect
If you are uncertain if your device has been affected (or whether or not it has already been repaired), you can perform the following test to find out for sure. Since this defect creates lost counts only at higher count rates, a sufficiently active source is required to perform a definitive test. We used a Sr–90 (0.1 µCi) exempt source from Spectrum Techniques. (Note: we have not developed a definitive test that uses other sources.)
Testing Steps
- Fully charge the Go Direct Radiation sensor to be tested.
- Disconnect the sensor from the power source.
- Turn on the Go Direct Radiation Monitor. Do not connect it to Graphical Analysis or LabQuest App.
- Enable the audio beeps using the slide switch.
- Locate the flashing red Bluetooth LED. The Bluetooth LED will flash red about once a second.
- Locate the activity LED (labeled α β γ). The activity LED will flash red when an alpha, beta, or gamma particle is detected.
- Place the Sr–90 source, label side out, centered over, and directly against, the screen of the detector.
- Notice the brightness of the Bluetooth and activity LEDs. Are they equally bright when lit?
(Note: if the activity LED stops flashing, remove the Sr–90 source then replace it to get the flashing to resume. Properly operating units will not stop flashing.)
Passes Test―Unit is good
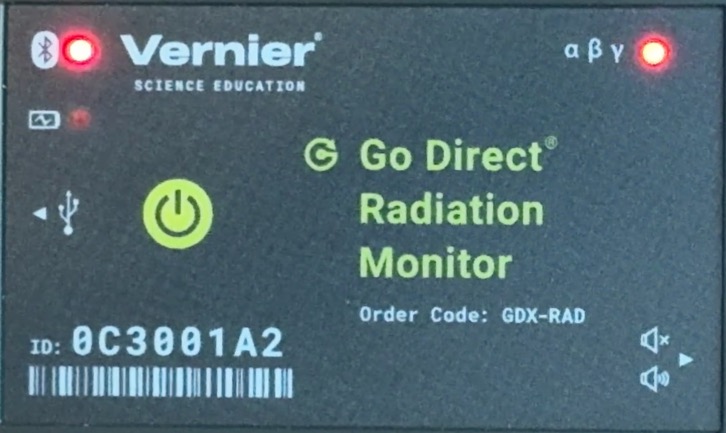
- Bluetooth LED and activity LED are the same brightness when lit.
- The activity LED continues to flash without pause.
- Audio beeps are clear.
Fails Test―Unit needs repair
- Bluetooth LED is significantly brighter than the activity LED when lit.
- The activity LED may pause for part of a second, or completely stop for several seconds.
- Audio beeps are faint.
Does your unit need repair?
If your Go Direct Radiation Monitor fails the test described above, Vernier will repair the device under our five year warranty. Contact our Tech Support team to set up a Return Merchandise Authorization (RMA) for this repair.
To set up a repair, call us at 888-837-6437 or email support@vernier.com.
Customers outside the US and Canada, please work through your local dealer.
Additional Information
Count rate effects
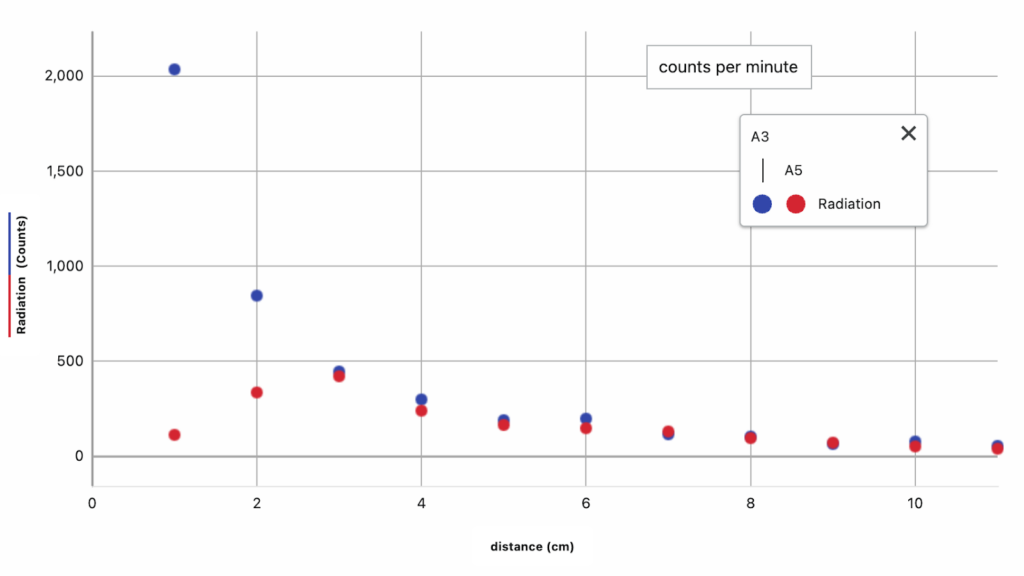
The graph below show a comparison of a good unit (⬤ A3) and a bad unit (⬤ A5). Notice that count rates below about 500 counts per minute are approximately the same for both units. Count rates above 500 counts per minute are very different.
What is causing the issue?
An incorrect part used in the unit prevents the high voltage power supply from adequately powering the Geiger tube during high count rates. This cause counts to be missed. To fix the unit, the incorrect component must be replaced. The repair is not feasible for a customer to perform.