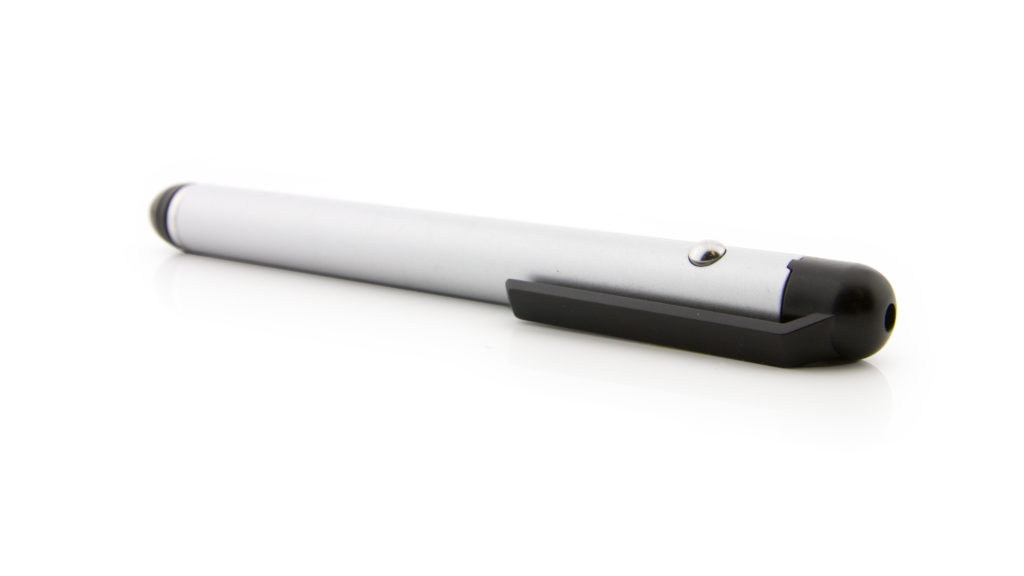
Laser Pointer User Manual
Order Code: LASER
The Alpec Laser Pointer is a Class 2 diode laser with a power of less than 1 mW. The laser has a wavelength between 630 and 680 nm and is powered by two AAA batteries which are included. A touch button can be found on the side of the pointer. Press this button to turn the laser on.
What's Included
- Laser Pointer
- AAA batteries (2)
Using the Laser Pointer
Lasers and laser pointers have many uses in science courses:
- The Laser Pointer has many uses when combined with a Photogate. Vernier Photogates have a detector on the outside of the photogate that can be used with a laser to produce a gate that is wider than the normal 7.5 cm spacing. This wide photogate has many applications. For example
- You can set up a photogate wide enough to measure the speed of an automobile or a person. You could even measure hand speed during a karate chop.
- You can set up a photogate and the Laser Pointer close to the ground. A person standing in the beam will block the gate. When he jumps vertically, his hang time can be measured by the unblocking of the photogate.
- Using the arrangement described above, you could drop a ball into the laser beam. As it bounces in the beam, you can use the blocking and unblocking events to calculate the coefficient of restitution and dwell time.
- You can verify the shutter speed of a film camera by letting the beam pass through the lens and out the back of the camera.
- You can measure the speed of a motor by determining the interruptions of a beam caused by the light passing through spokes in a wheel.
- The Laser Pointer can be used with interference kits to observe interference patterns. When used with a data collection sensors, intensity patterns can be recorded. A simple way to do this was described by Andrew DePino Jr. in The Physics Teacher (“Diffraction Patterns Using a Constant Velocity Cart”, The Physics Teacher, 40, 418-419 (October 2002). In the article, he describes how to attach a Vernier Light Sensor to a constant velocity car. As the car moves perpendicularly through the beam, the graph of light intensity vs. time approximates a graph of light intensity vs. distance. To take the experiment
Caution - As with any laser, caution must be exercised when using the laser pointer. The Laser Pointer emits laser radiation, and therefore, should not be pointed at the eye. Pay special attention to the location of the aperture, which is on the same end of the pointer as the clip. A caution label can also be found on this end of the pointer. Direct eye contact with the laser beam may cause serious injury. Students should be reminded that this is not a toy, and it should be kept out of reach of children. one step further, you can directly measure light intensity vs. distance data by combining a Light Sensor with a Rotary Motion Sensor.
Battery Installation
To install the batteries, remove the end cap of the pointer (the end opposite the aperture). Install the 2 AAA batteries with the positive (+) end of the batteries pointing toward the open end of the case. After replacing the end cap, test the pointer by pointing the aperture toward a wall and pressing the ON/OFF touch button on the side of the pointer.
Accessories
A Laser Pointer Stand (order code STAND) provides a convenient way to mount the Laser Pointer. It holds the laser in place and even holds the power button down for ease of use during an experiment.
Warranty
Warranty information for this product can be found on the Support tab at www.vernier.com/laser/#support
General warranty information can be found at www.vernier.com/warranty
Contact Support
Fill out our online support form or call us toll-free at 1-888-837-6437.

