Mapping Electric Potential
Experiment #8 from Advanced Physics with Vernier — Beyond Mechanics
- Subject
- Physics

Introduction
Coulomb’s law describes how the force that charged objects exert on one another depends both on the magnitude of charge and the distance between the objects. However, it does not explain how this force is mediated between objects that are not in contact. For this, we need the concept of the field, which you may have addressed in your study of mechanics. We know that an object with mass experiences a force when it is placed in the gravitational field produced by another object with mass. Near the surface of an object as large as the Earth, the gravitational field is nearly constant and is directed downward, perpendicular to the surface. We assign the variable g to designate the strength of the gravitational field; its units are N/kg.
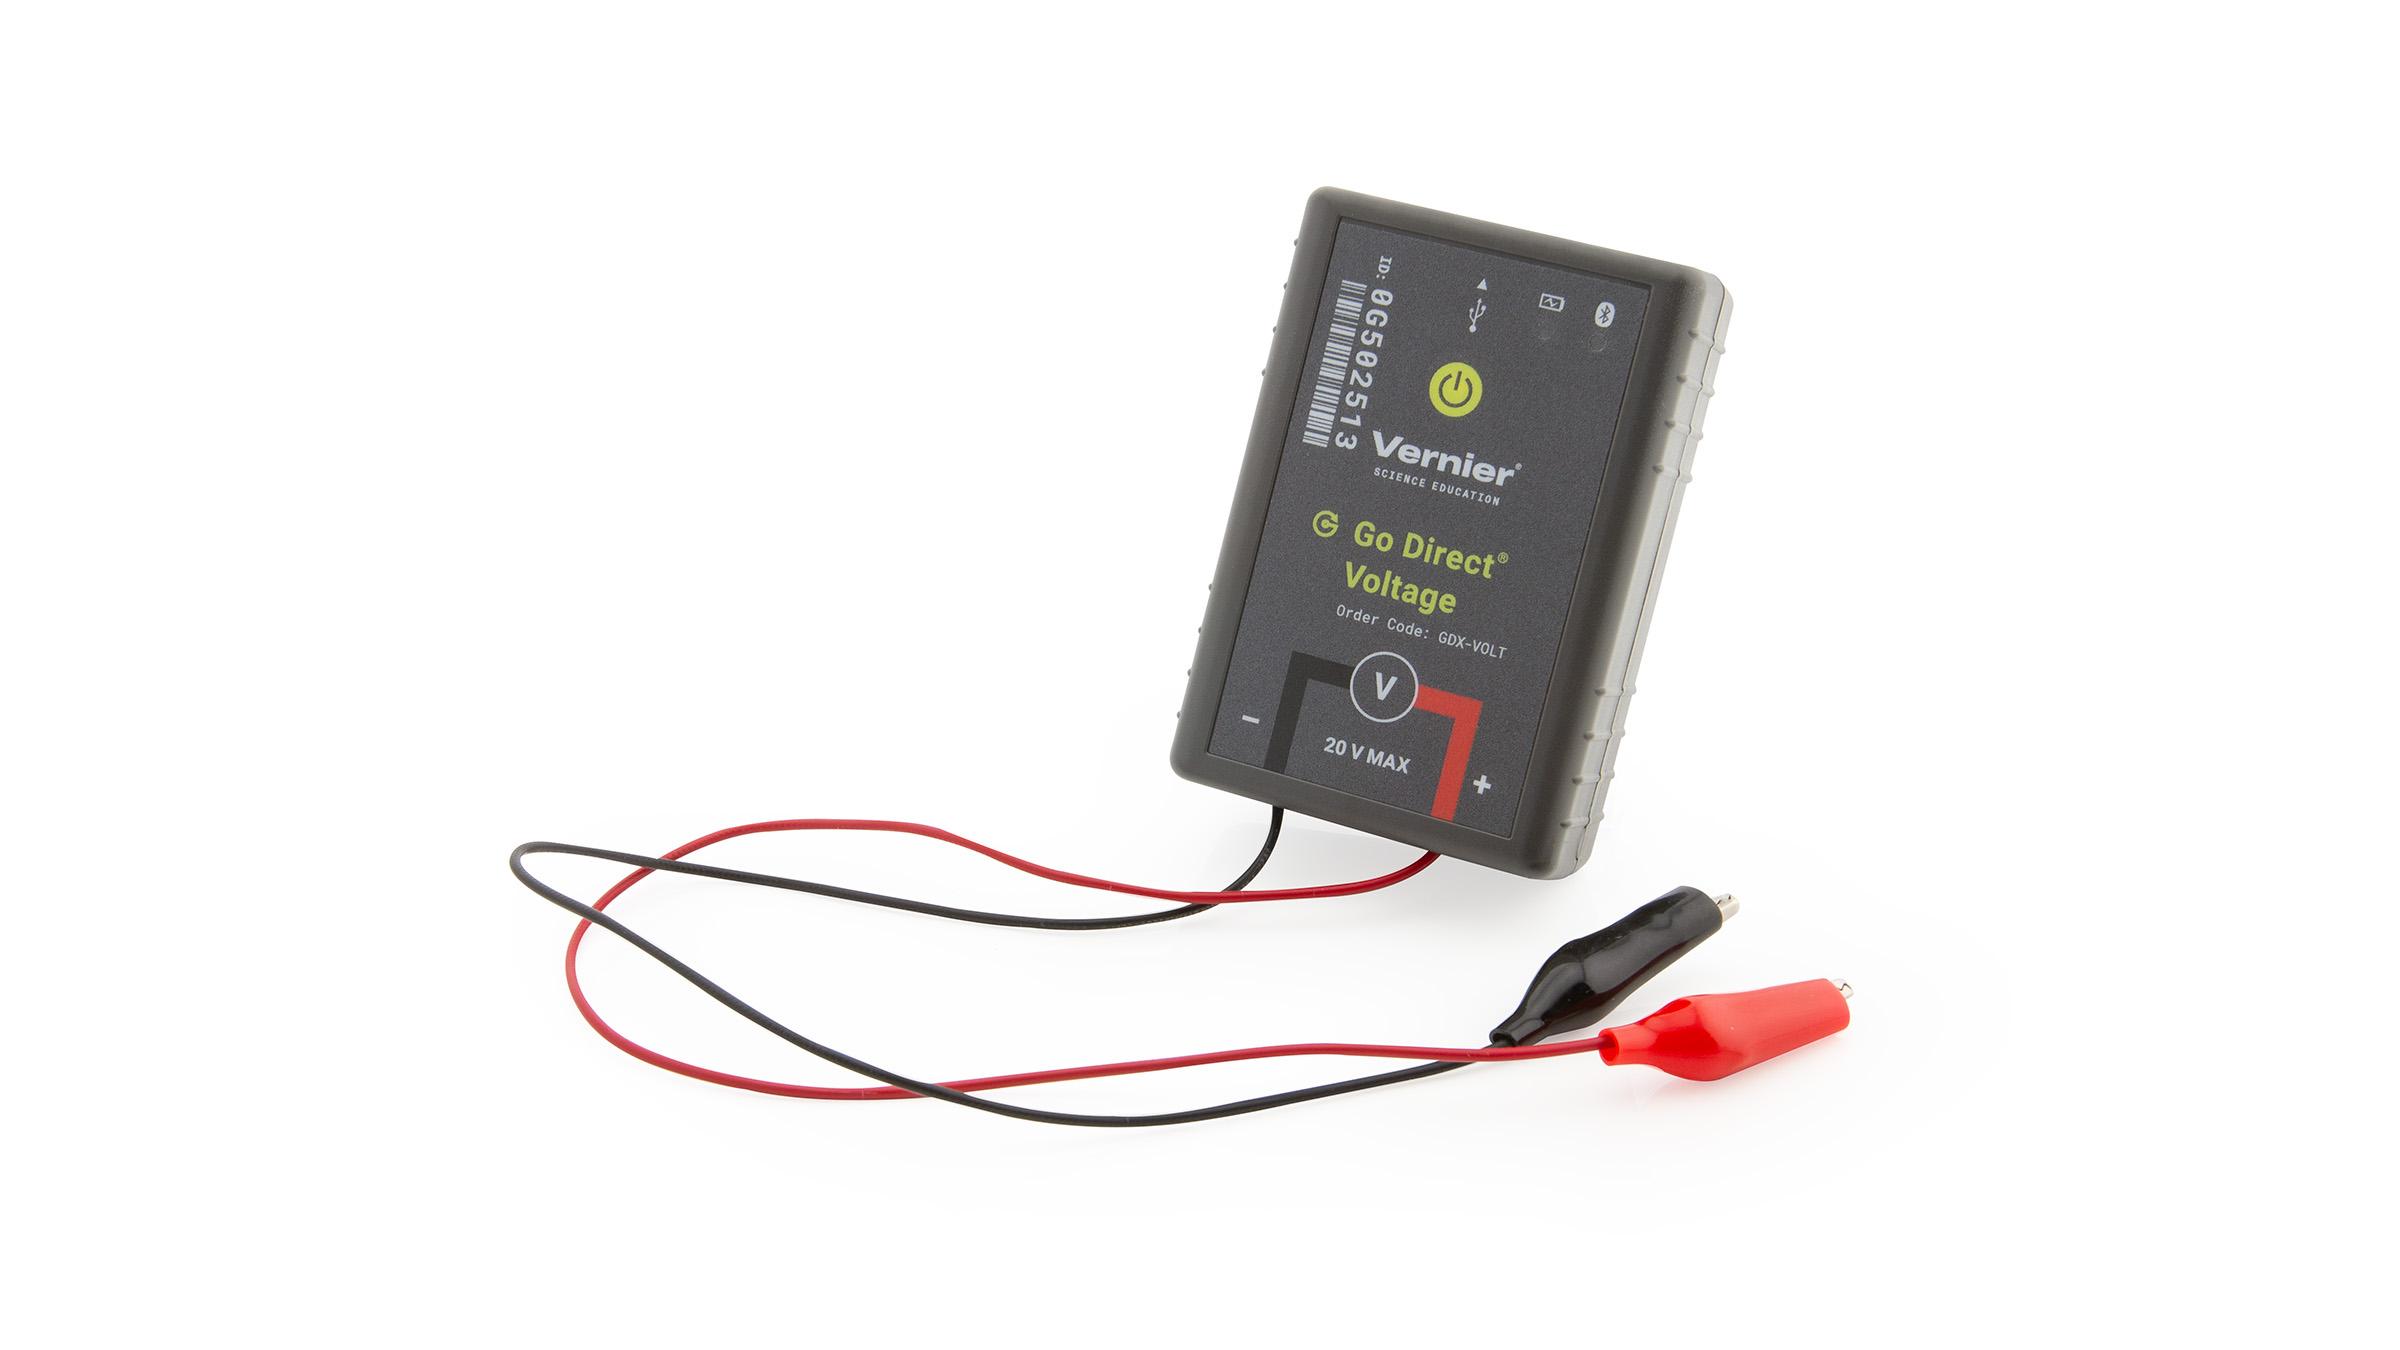
Charge, like mass, both produces and responds to a field–the electric field. Unlike the gravitational field near the surface of the Earth, the electric fields produced by the considerably smaller charged objects we examine in the lab are usually quite variable. Furthermore, the forces they exert can be repulsive as well as attractive. We cannot easily map the electric field produced by distributions of charge. However, we can measure the electric potential at various locations with a voltage probe. From a map of electric potential readings, we can deduce information about the strength and the direction of the electric field at these locations.
In your pre-lab discussion you will learn the concept of potential as a property of a location in a field. To better understand maps of electric potential, we turn to their gravitational analog: topographic maps. The lines on a topographic map indicate locations of equal gravitational potential (equipotentials) relative to some reference point (usually sea level). In this experiment, you will measure the electric potential at various locations in an electric field to determine an analogous map that will help you describe the electric field.
Objectives
In this experiment, you will
- Measure the electric potential at locations on a conducting surface resulting from various distributions of electric charge.
- Use a Microsoft Excel spreadsheet and the electric potential data to generate 2-D and 3-D maps of electric equipotentials.
- Analyze the maps of electric potential to sketch lines representing the electric field produced by electric charge.
- Describe how the field from lines of charge differs from that produced by point sources.
Sensors and Equipment
This experiment features the following sensors and equipment. Additional equipment may be required.
Correlations
Teaching to an educational standard? This experiment supports the standards below.
- International Baccalaureate (IB) 2025/Physics
- The students should understand the electric field strength as given by E = F/q
- The students should understand electric field lines
- The students should understand the relationship between field line density and field strength
- The students should understand the uniform electric field strength between parallel plates as given by E = V/d
- The students should understand the electric field strength E as the electric potential gradient as given by E = –ΔVe/Δr
- The students should understand the work done in moving a charge q in an electric field as given by W = qΔVe
- The students should understand equipotential surfaces for electric fields
- The students should understand the relationship between equipotential surfaces and electric field lines
Ready to Experiment?
Ask an Expert
Get answers to your questions about how to teach this experiment with our support team.
- Call toll-free: 888-837-6437
- Chat with Us
- Email support@vernier.com
Purchase the Lab Book
This experiment is #8 of Advanced Physics with Vernier — Beyond Mechanics. The experiment in the book includes student instructions as well as instructor information for set up, helpful hints, and sample graphs and data.


